Begin your Stylish DIY Clothes Rail Journey
Embark on a creative adventure by crafting a Stylish DIY Clothes Rail. Not only does it serve as an organization tool, but it also adds a personal touch to your living space. Let’s delve into the process of creating your own chic and sturdy clothes rail.
Gathering Essential Materials
First, assemble these materials to construct your stylish clothes rail:
- Durable wood or metal for a solid frame
- A precise saw to tailor pieces to your design
- Screws and dowels for a robust assembly
- A drill for precise holes
- Sandpaper to ensure a smooth finish
- Your choice of paint or varnish
- Casters for mobility or pads for stability
- A reliable level for an even setup
Designing Your Custom Clothes Rail
Prior to construction, sketch out your ideal clothes rail, factoring in your available space and storage needs. This will act as your project blueprint.
Cutting and Smoothing the Pieces
With safety gear on, cut your selected materials based on your blueprint. If opting for wood, sand down each piece for a refined feel.
Assembling Your Framework
Kick off the assembly by connecting the base and sides of your rail. Drill guide holes beforehand and use fixtures to secure the parts firmly together.
Stabilizing the Structure
Integrate additional support features like crossbars or brackets to ensure a sturdy rail capable of holding your wardrobe.
Securing the Hanging Bar
Mount the hanging bar at the correct height, ensuring it’s well-positioned and can support the weight of your clothing items.
Finishing Touches
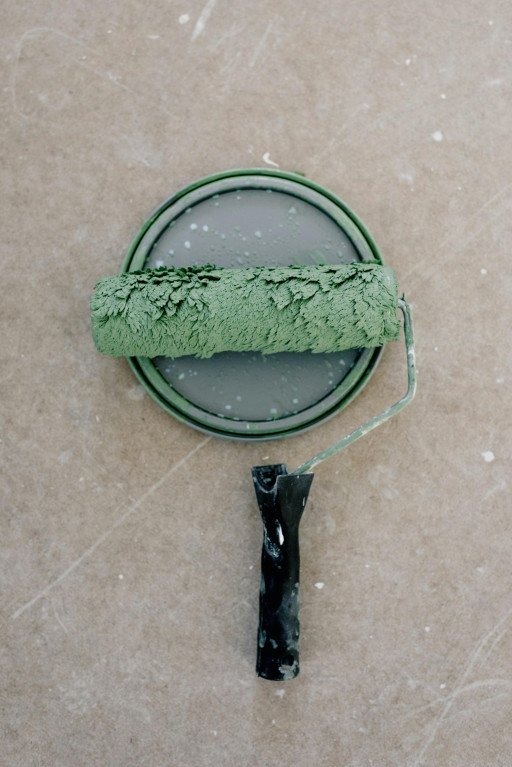
Pick a finish that resonates with your room’s style. A good coat of paint or varnish will not only look great but will also protect the rail.
Making it Mobile or Stationary
Add practicality to your Stylish DIY Clothes Rail steps chic diy off shoulder sweater guide by attaching wheels for easy movement or stationary pads to protect your floors.
Enhancing Functionality
Increase your rail’s utility with hooks, shelves, or baskets to keep accessories, footwear, or extra items neatly stored.
Upkeeping Your Clothes Rail
Regular maintenance is key. Inspect and tighten any loose parts and refresh the finish when required to maintain its pristine condition.
Wrapping Up: Your DIY Masterpiece
The culmination of your efforts results in more than a mere item of convenience; your Stylish DIY Clothes Rail is a testament to your ingenuity and flair. Celebrate your handiwork and the newfound elegance it brings to your home.
Related Posts
- 7 Essential Steps to Designing DIY Breastfeeding Tops: A Complete Guide for Nursing Mothers
- 5 Innovative Sewing Upcycling Projects for Wardrobe Revamp
- DIY Fringe Jacket Guide: 5 Steps to Personalize Your Style
- Customized DIY Tripp Pants: 5 Tips for Crafting Your Gothic Garb
- 5 Steps to a Chic DIY Off The Shoulder Sweater Guide